5 Steps to a Working System
Enable PGX Plugins
In your .uproject or through Edit → Plugins, enable PGXCoreRuntime and the L2 plugins you need (e.g., PGXSaveRuntime, PGXAudioRuntime).
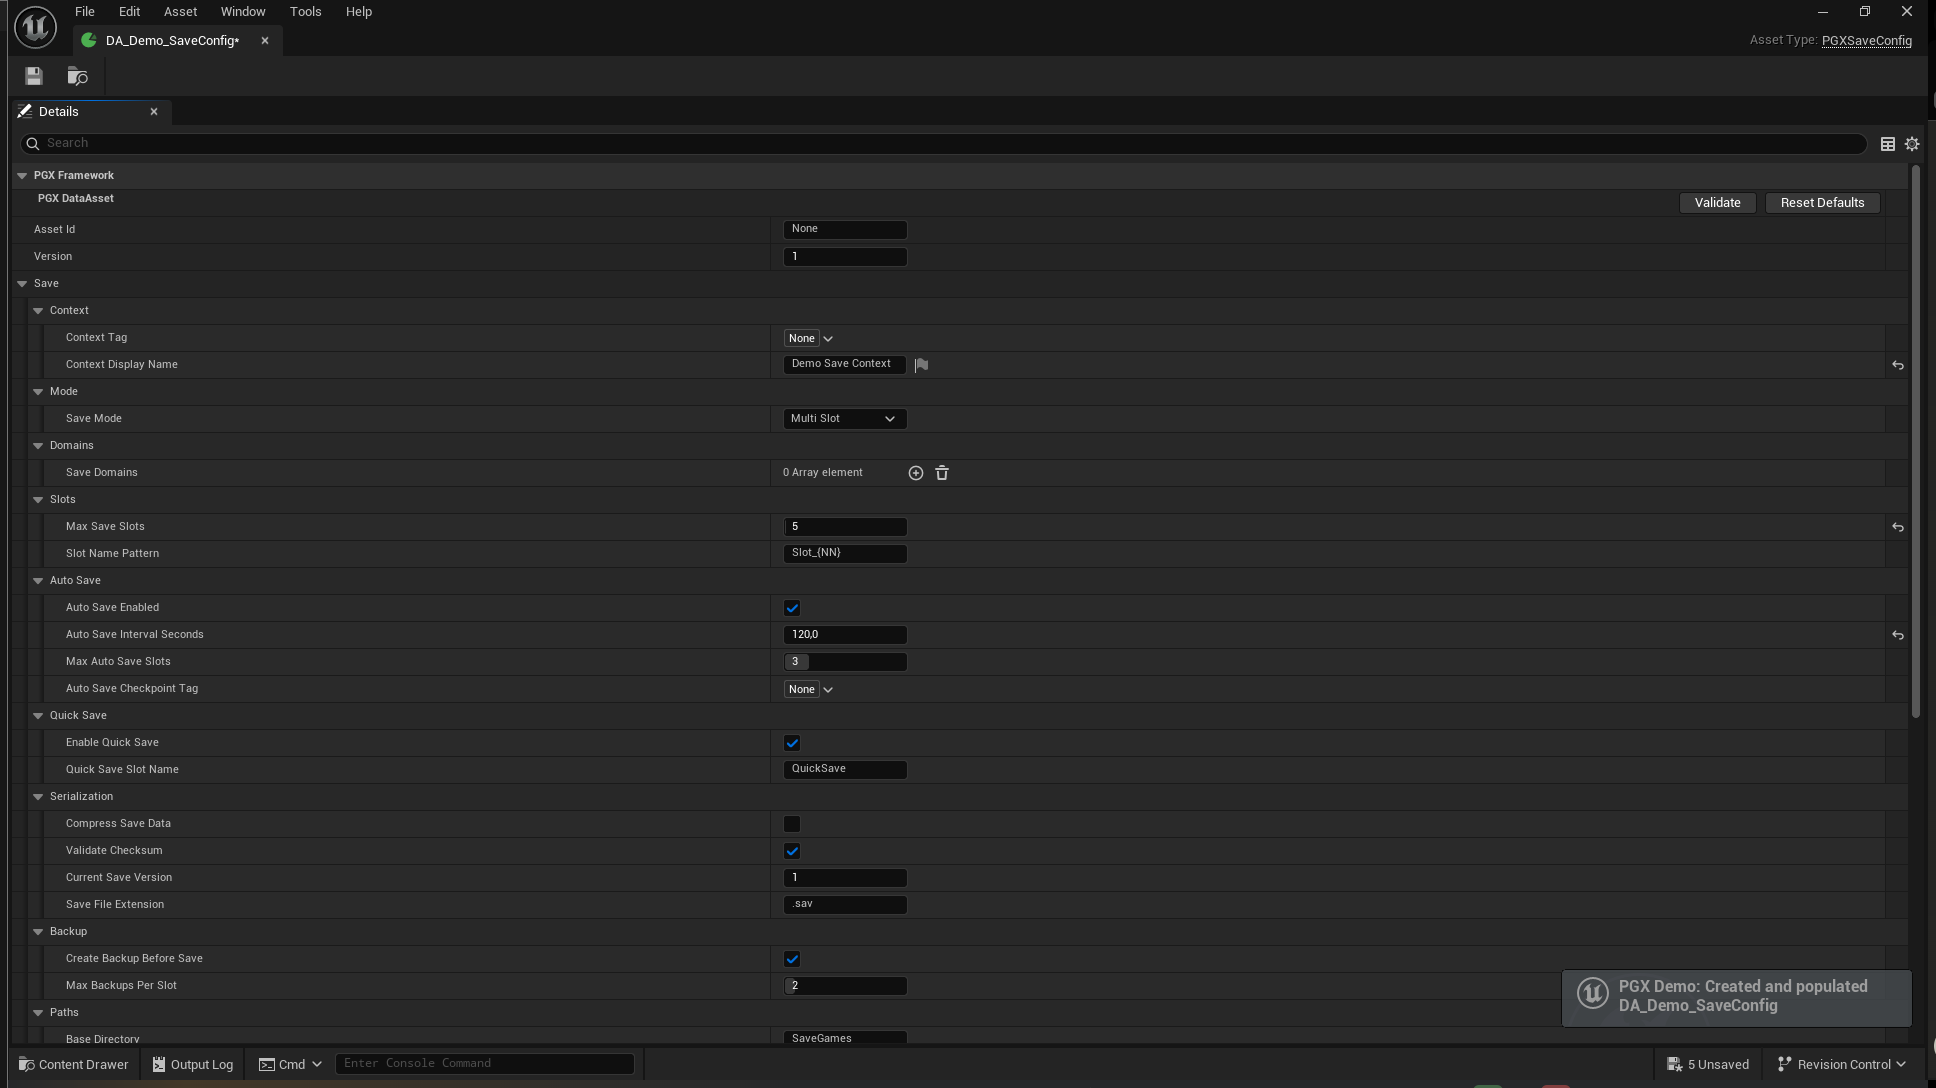
Create a Config DataAsset
Right-click in Content Browser → PGX FRAMEWORK → Create a Config DataAsset for your system (e.g., UPGXSaveConfig). The system auto-discovers it at startup.
Fill Properties
Open the DataAsset in the Details panel. Fill in the configuration. Default values work out of the box — customize only what you need.
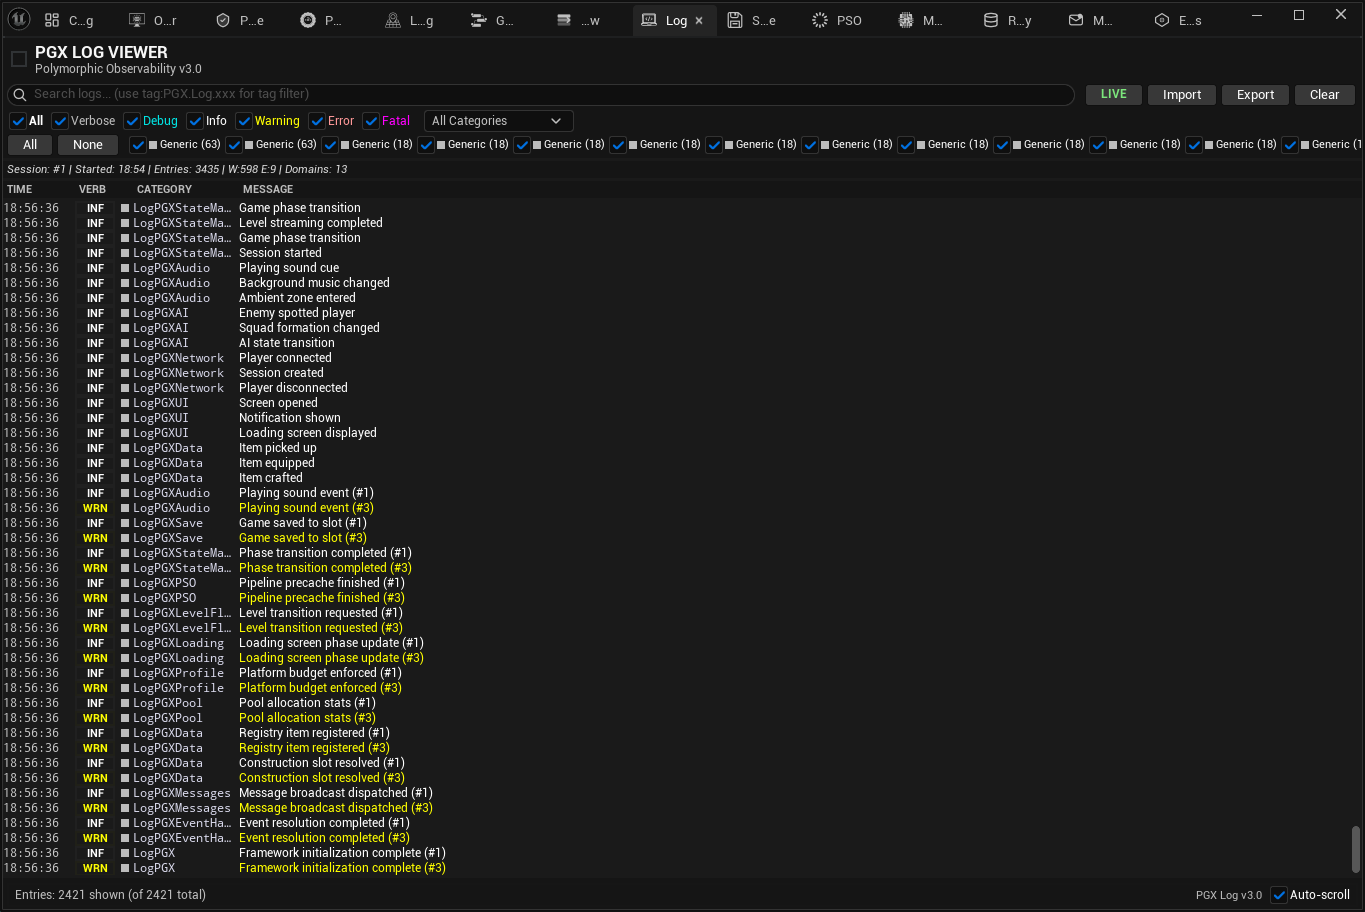
Test with Console Commands
Hit Play in Editor, open console (~). Type pgx.save.status or pgx.audio.status to verify. Every system has diagnostic commands.
Extend with Your Class
Want custom behavior? Set ClassSourceMode to Blueprint or CppClass in the Construction DA. Create your class, the system uses it automatically.
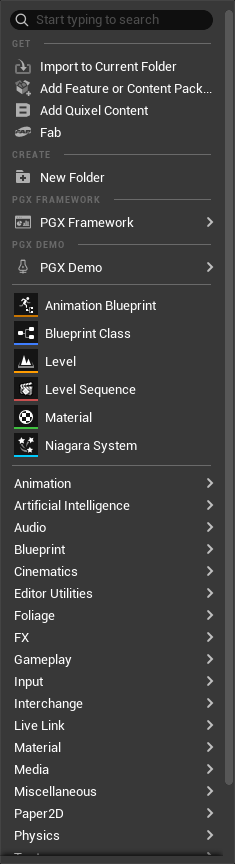
Create Any PGX Asset
Right-click in Content Browser → every PGX DataAsset organized by system. 58 asset types across 13 systems. No searching, no memorizing paths — the menu guides you to exactly the right asset.
Configure in the Details Panel
Open any Config DataAsset and fill in properties. Defaults work out of the box. Advanced settings are hidden behind progressive disclosure (AdvancedDisplay). Zero documentation needed to get started.